Map Generation & Logistics
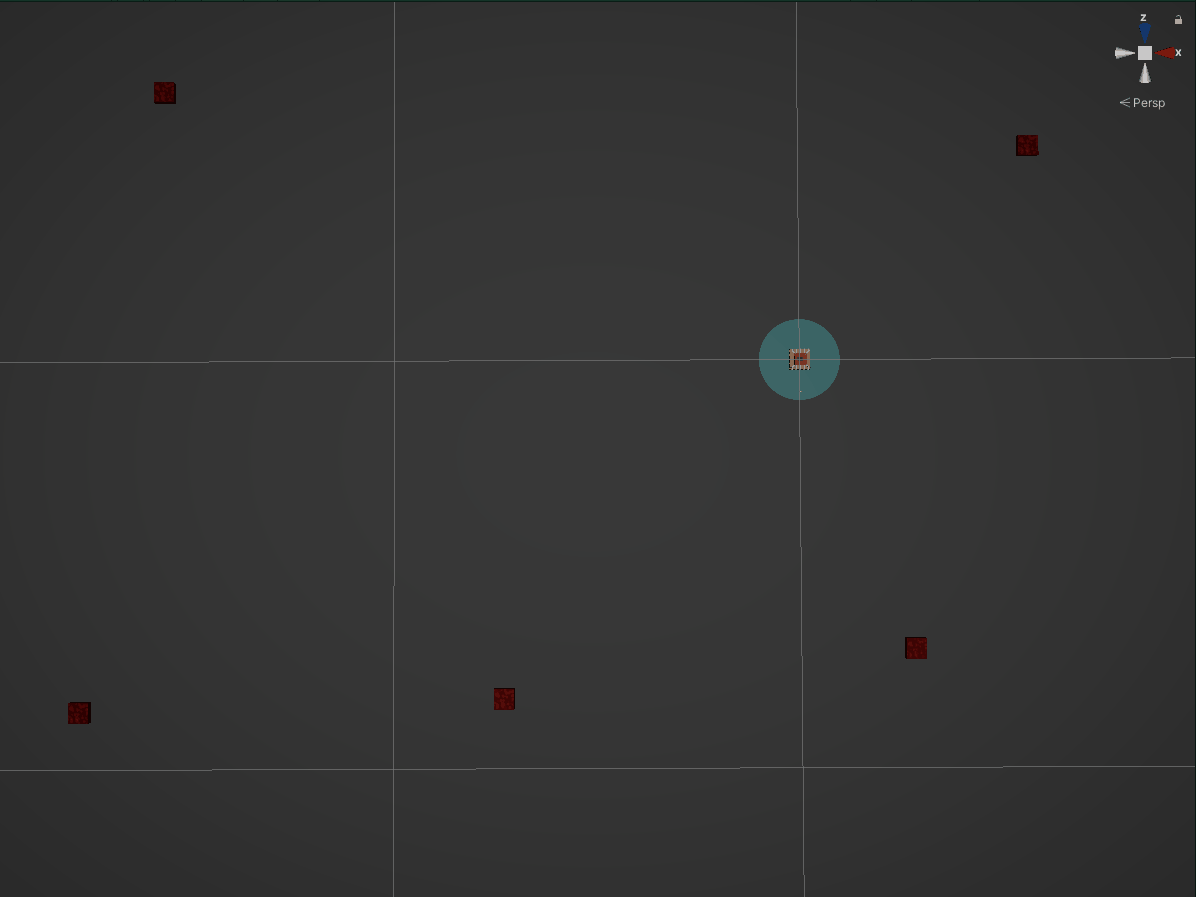
Map generation is always a critical component of any game type, but for our game it is especially critical as it is an automation, base building, RTS style game. We wanted our map to allow for quick expansion of your base, the difficulty of which would increase the further you get from your starting base. This difficulty would be determined both by the placement of obstacles such as trees, rocks, etc. and also enemy base placement.
Our map generation process is completed in multiple steps and involves LOTS of loops through our map. Each loop will iteratively add to our map until a final map is produced. These steps are:
1. Use Conway’s Game of Life to create the biome areas of our map
2. Use Conway’s Game of Life to create the obstacles in our map
3. Use Conway’s Game of Life to create the Decoration placement in our map
4. Combine the results of the three previous map loops into a centralized 2d array of structs which represent the relevant data for our map tiles
5. Loop through 2d array of structs and determine which map tiles are edge cases
Creating a natural look for the shape of our biomes and obstacles was our first issue to address. We utilized Conway’s Game of Life in order to produce natural looking biome areas within our map. Essentially, Conway’s Game of Life is a very simple algorithm which can be used on an 2d array of binary bits to create very natural looking areas in a map. You loop through the 2d array and determine if a bit has more than four neighbors whose value are 1, if so that bit also becomes a 1, otherwise flip its value to 0. Using this approach, we were able to create natural looking biomes, obstacle clusters, and map decoration placement from three separate passes of Conway’s Game of Life layered on top of each other.

Edge cases are determined using the bitmasking method. While looping through the map, each tile will look at its 8 neighbors and calculate its ‘EdgeBinaryNumber’. This binary number will be used to determine if the tile is an edge case, and if so, where the edges are. Because each neighbor of the tile is considered a binary bit, calculating its binary edge number will tell you the locations of the edges for that particular tile. This allows us to procedurally determine which edge tiles to place where, very convenient!
Individual tiles proved challenging to design in a way which looks natural and seamless. Our problem was that having a design go from edge to edge on each tile caught the eye in a negative way. The abrupt pattern changes between tiles were jarring, and made the grid-like structure of our map very noticeable.
In order to counter this, we ended up using a design pattern which contained the design of a tile within the center square, and washed that out to a flat color near the edges, ensuring the seams between tiles were not noticeable.


Tile version 1 using Perlin Noise design
(on left)
Tile version 2 using seamless edge design
(on right)
Stay Classy Internet,
Oggy and Will
—————————————————————————————————————————————--
Logistics
These last couple of weeks we really started to polish out the setup we have done over the last 8 months. Up until about 5 weeks ago everything in the game from scripts to models were just placeholders until we had a real grasp on what we could accomplish with Unity’s DOTS. What once took us weeks to figure out now can be thought through in a day (most of the time).
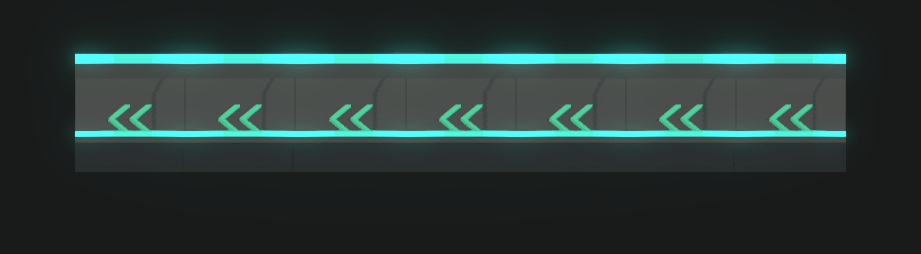
About 3 weeks ago I set my sights on our troughs. I really wanted to see those become more of a staple for the direction of the game, seeing as they are going to be the most common building. If you’re familiar with automation games, then you most likely know what these represent. The trough is the main logistics building used to move resources around the map. Here is an example of the old design that we have been working with for the last 6 months.

I know… But they were just there to help us build the foundation of our systems and test the theories. I set out on a mission to make these look somewhat polished. In the first iteration I wanted to add some color and trim so you could see the direction more clearly.


I wanted the rim lights to help indicate the direction so I added a flicker that would move in the trough’s direction. But this just became more confusing then helpful as you couldn’t see where the light was heading, just a back-and-forth flicker. I added more so you could really stream them along without losing track of the pulse.
This was a winner. The added glass would also help indicate that the resources would stay in the trough rather then roll out when congested.
During the design process Oggy had been working on our pathfinding system and the units would have to path around the troughs, which would be awful as these things are everywhere. So just make them path through the troughs, right? The thought was jarring as units clipping though the troughs just didn’t make sense. We decided to place them underground. This just works as the troughs have a glass top that can be walked over, and they conceal the less flattering sides. Yay for pathing!
During the test cases of the new design, the glass seemed to be extremely taxing because of the resources moving underneath. So, we came up with an alternative that kept the same feel.


Grate! Fixed our rendering issue without too much blockage of what’s inside.
With the new design implemented came new issues.
-How to get resources in and out of Buildings.
-How to get resources over perpendicular Troughs.
-How to split resources to spread out distribution.
Importers / Exporters
We wanted to take a different approach on these. Other games have their own solutions to this. Factorio has inserters, Mindustry uses belts, and satisfactory uses a conveyer to building approach with fixed inputs and outputs. Not a lot of room for innovation here, but I think where we landed was a nice in between until we have a complete solution.
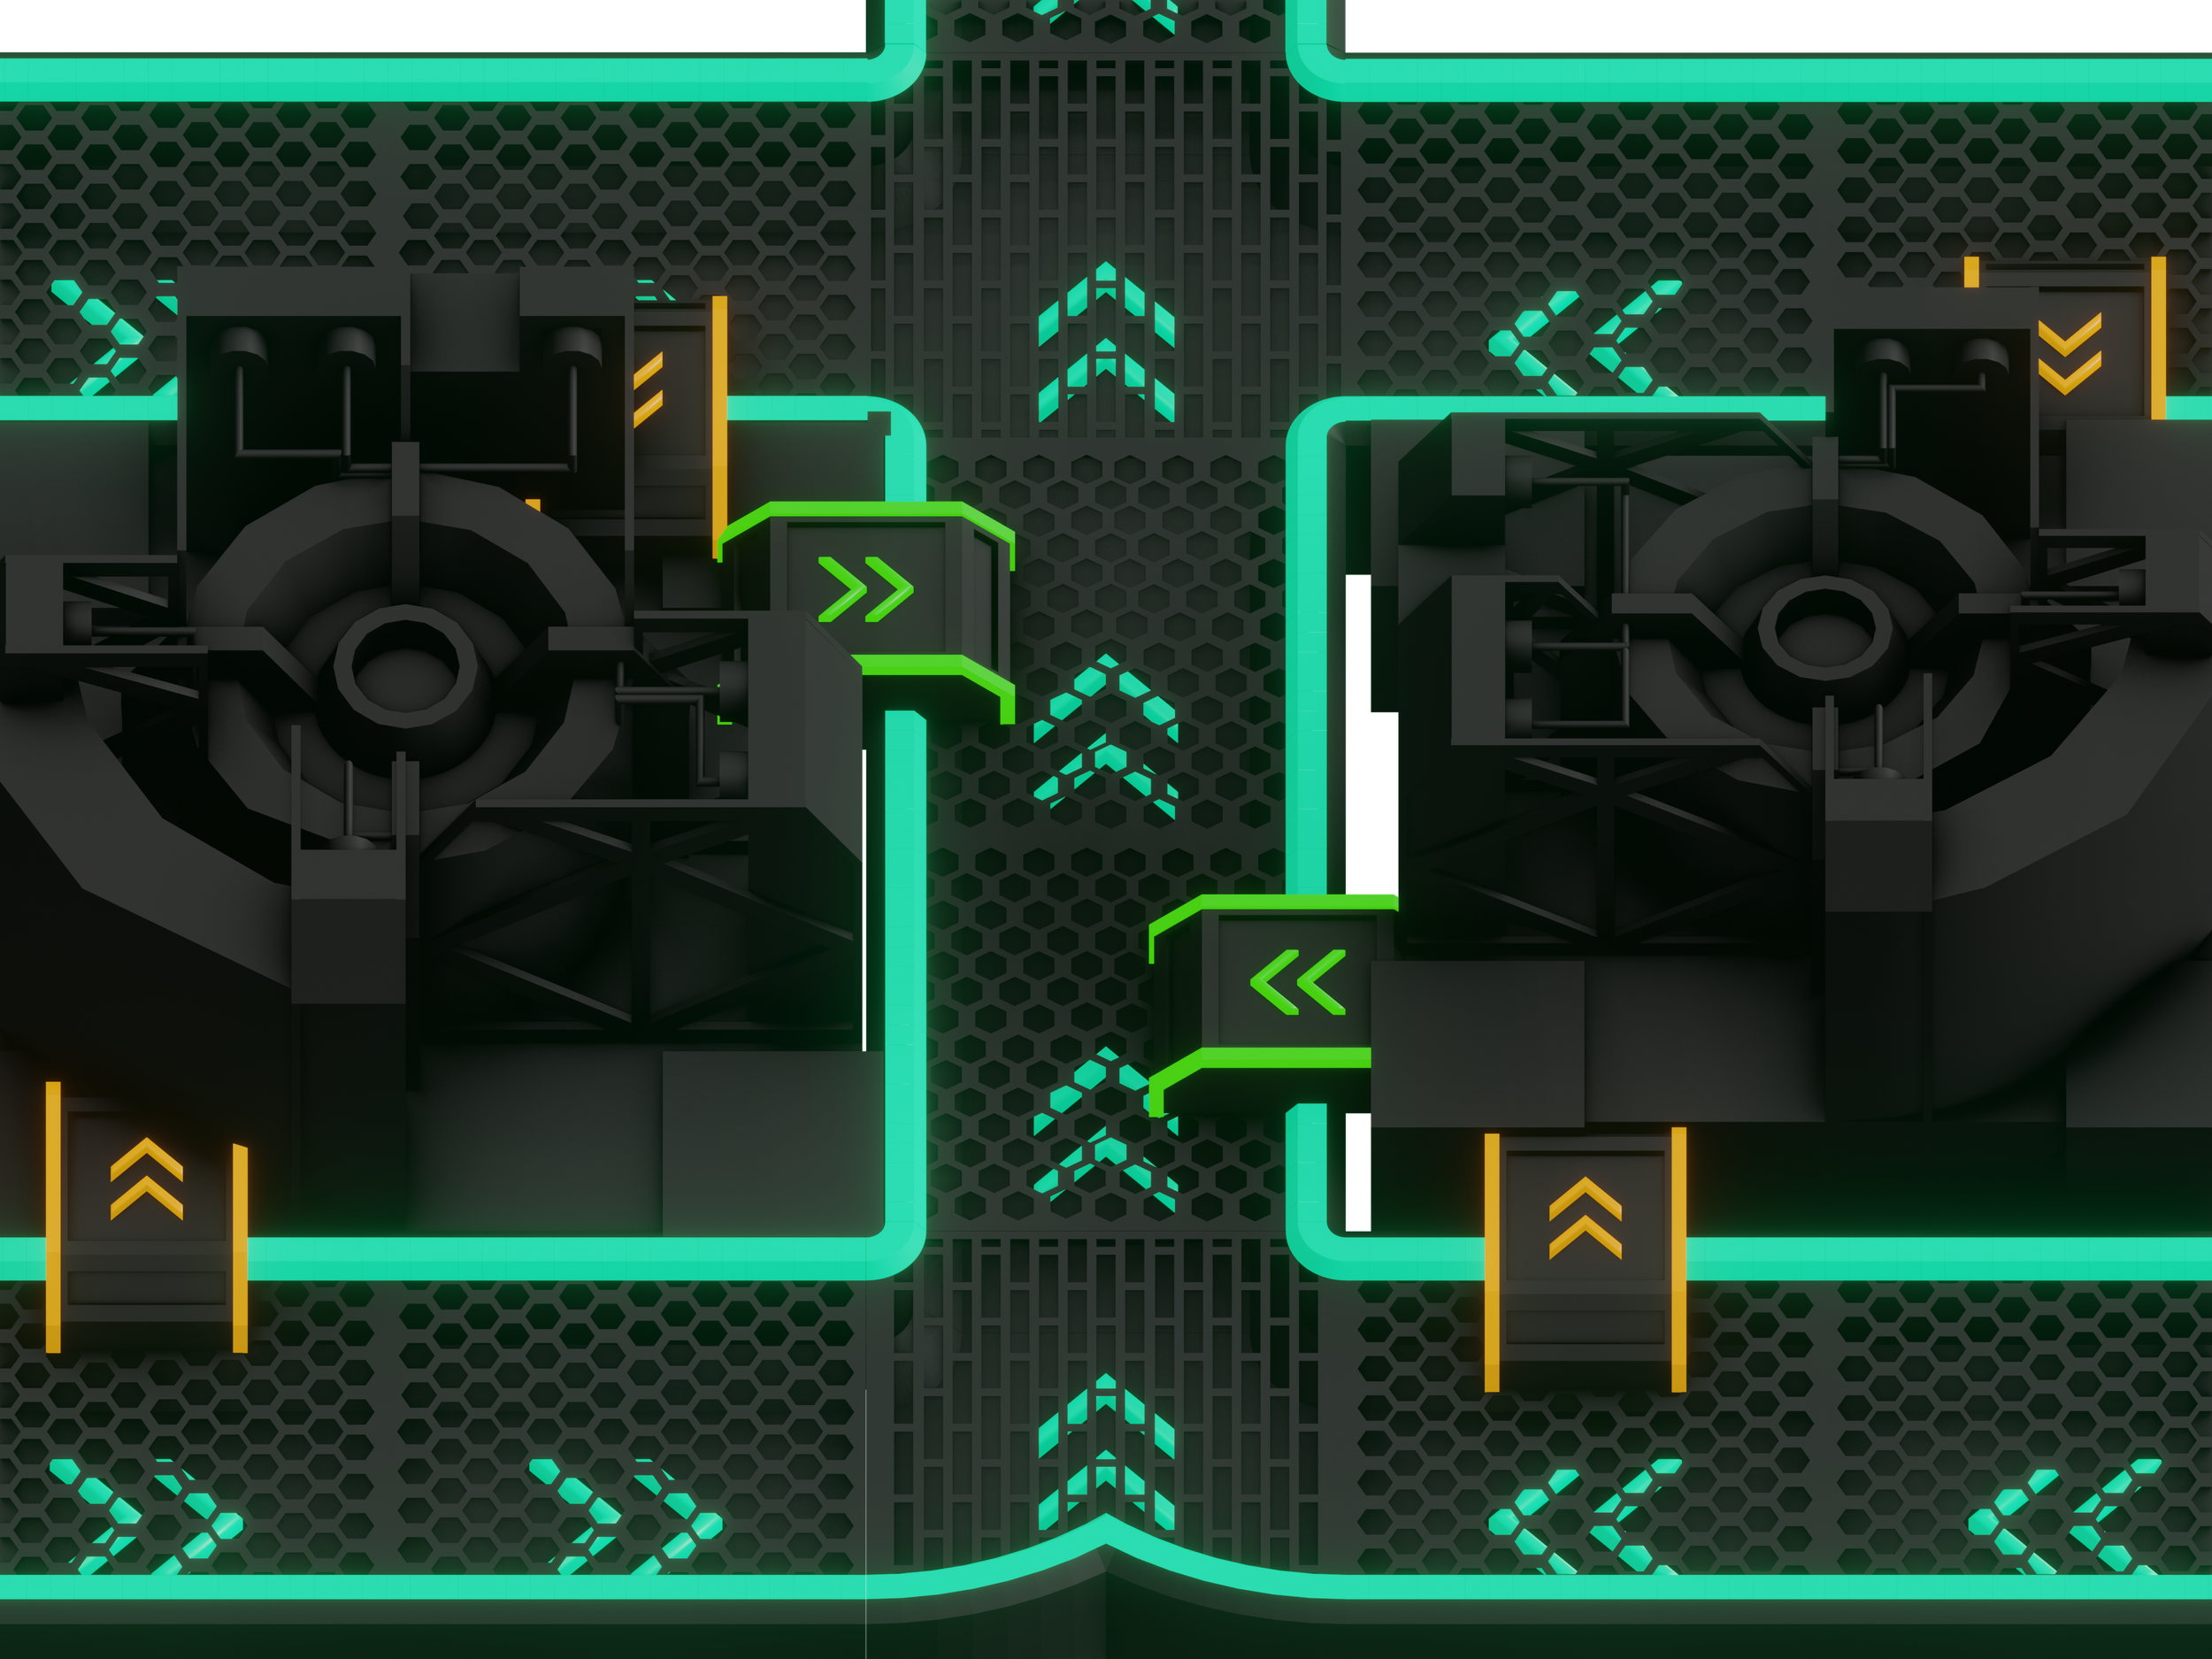
The idea is a combination of a few. We wanted to make sure that buildings could process resources from any direction and depending on the direction you place the importers/exporters they would behave has the player would expect. This leads to very tight design. The player can create very compact setups if that’s what they wish. They are also color coded to help identify its function from a distance. But at the end of the day these are just another placeholder on logistics system.
Junction and Splitter/Filter Trough
When our troughs were above ground, we initially wanted to highlight the physics engine and have a jump belt project resources over the perpendicular trough. I really like this idea and want to give it some more thought, but until I work the logic and design out we added a junction trough to help be able to play the game.
Splitters and Filters on the other hand have a simple concept that might be hard to flare up. I haven’t come up with a good alternative solution to the concept, so those also will be in a placeholder position.


Next week I plan to tackle the design of the new junction trough concept. I want it feel as original as I can.
Posts following this will most likely be much shorter, and more to the point. We crammed 3 weeks of progress into this post so it’s a bit wordy. Thanks for reading and be sure to check back next week.
Steg